Common Washing Machine Problems and Repair Solutions

Understanding common washing machine problems, their causes, and potential repair solutions can save you time, money, and the hassle of calling a professional for every minor issue.
Understanding common washing machine problems, their causes, and potential repair solutions can save you time, money, and the hassle of calling a professional for every minor issue.
Comprehensive List of Washing Machine Problems and Repair Solutions A washing machine is one of the hardest-working appliances in any home, cycling through hundreds of litres of water, spinning at high speeds, and handling heavy loads week after week. With that much mechanical and electrical activity, faults are inevitable. Whether you own a front-load or … Read more
In a world where technology continuously reshapes our daily routines, laundry day has also evolved. Semi-automatic washing machines represent a perfect blend of convenience and control, offering users the flexibility to manage their laundry without the full automation of modern front-loaders or top-loaders. If you’re considering upgrading your laundry setup or simply curious about how … Read more
Buying a washing machine in Nairobi today means balancing three things at once: the sticker price, the monthly electricity and water bill, and how long the unit will actually last before you need a repair technician. With power tariffs rising and water becoming more precious in many estates, a budget-friendly washing machine doesn’t have to … Read more
A washing machine is a significant investment for any household, and proper usage can significantly extend its lifespan. By following a few simple yet effective practices, you can ensure your washing machine remains efficient and functional for years to come. This article explores practical tips to maximize the longevity of your appliance. Load Capacity Matters … Read more
A washing machine is one of the most valuable appliances in any Nairobi home, but most people only think about how it works once it stops working. Whether you own a front-load washing machine or a top-load washing machine, understanding the basics can save you money, extend the machine’s lifespan, and help you know when … Read more
Loading a washing machine correctly ensures your clothes come out clean, fresh, and free from damage. Whether you’re a first-time user or just need a refresher, following these steps will help you maximize efficiency and extend the life of both your machine and your garments. Step 1: Sort Your Laundry Before loading, separate your clothes … Read more
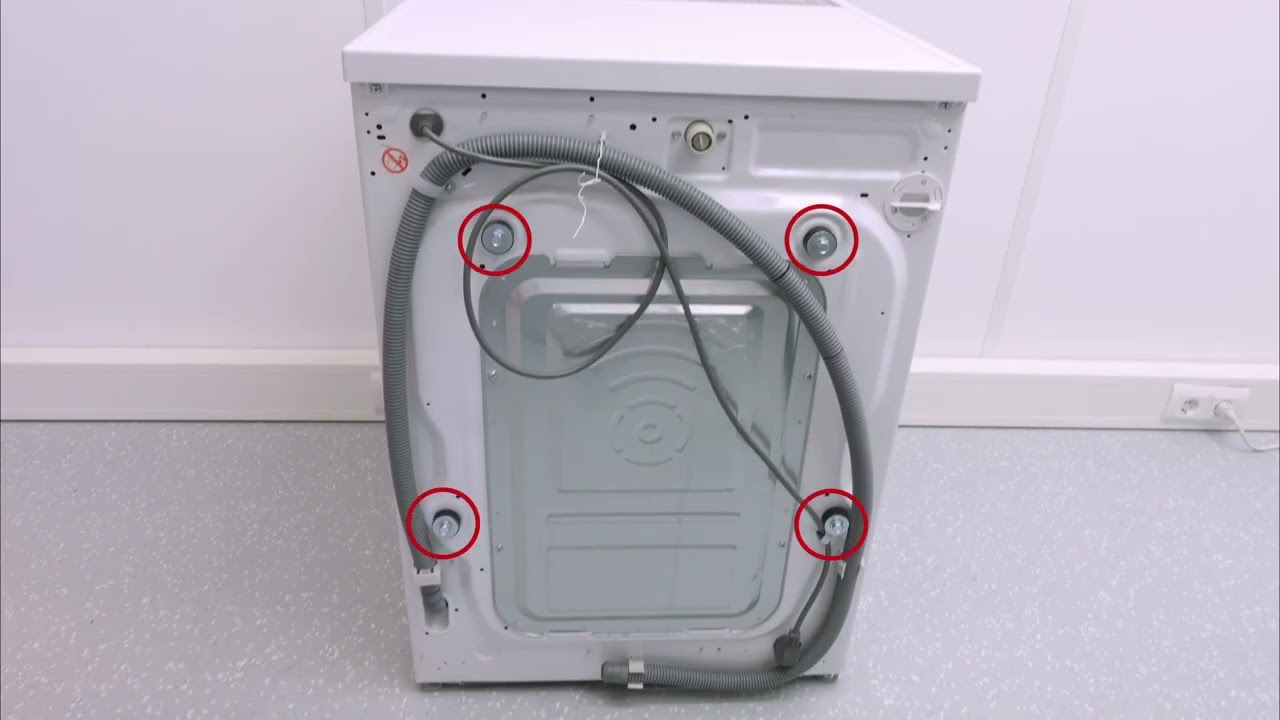
Buying a new washing machine is an exciting upgrade for any Kenyan household, but the job is only half done once the unit arrives at your door. Proper washing machine installation is what determines whether your appliance runs quietly and efficiently for the next decade, or develops leaks, vibration problems, and drainage faults within the … Read more
A malfunctioning washer or dryer can disrupt your daily routine. Whether it’s a leaking washing machine, a dryer that won’t heat, or an unexplained error code, finding a reliable repair service is essential. Fortunately, Georgetown is home to a variety of professional companies specializing in washer-dryer repair. These businesses offer expert diagnostics, timely repairs, and … Read more
Runda Vacuum Cleaner Repair for all common faults and problems, Call 0746801984 A vacuum cleaner is an essential appliance in every modern home, keeping your living spaces clean and dust-free. However, like any mechanical device, vacuum cleaners can develop faults over time that affect their performance. When your vacuum stops working efficiently, you need a … Read more
Is your vacuum cleaner losing suction, making strange noises, or refusing to turn on? Don’t replace it—repair it with fast, affordable service from Mountain View’s trusted appliance experts. At Arc Sys Vacuum Repair, we specialize in restoring all makes and models to like-new condition, saving you money and reducing e-waste. Call 0746801984 today for same-day … Read more
A reliable vacuum cleaner is essential for maintaining a clean and healthy home. However, even the most durable vacuum cleaners can break down over time due to wear and tear, clogged filters, or motor issues. When your trusted cleaning companion stops working, you need fast, professional repair services to restore its performance. That is where … Read more
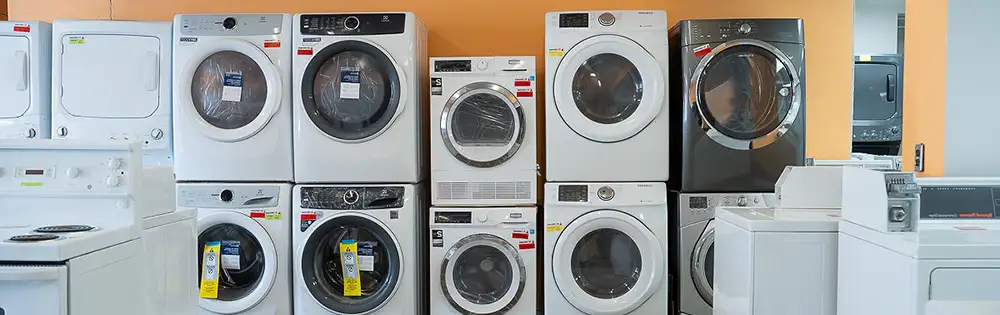
Nairobi, Kenya’s bustling capital, has a thriving market for home appliances, with washing machines being among the most sought-after items. As urban living spaces become more compact and lifestyles grow busier, the demand for efficient and reliable washing machines continues to rise. Both local and international brands compete in this vibrant market, offering a range … Read more